
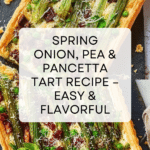
Spring Onion, Pea & Pancetta Tart Recipe
Introduction
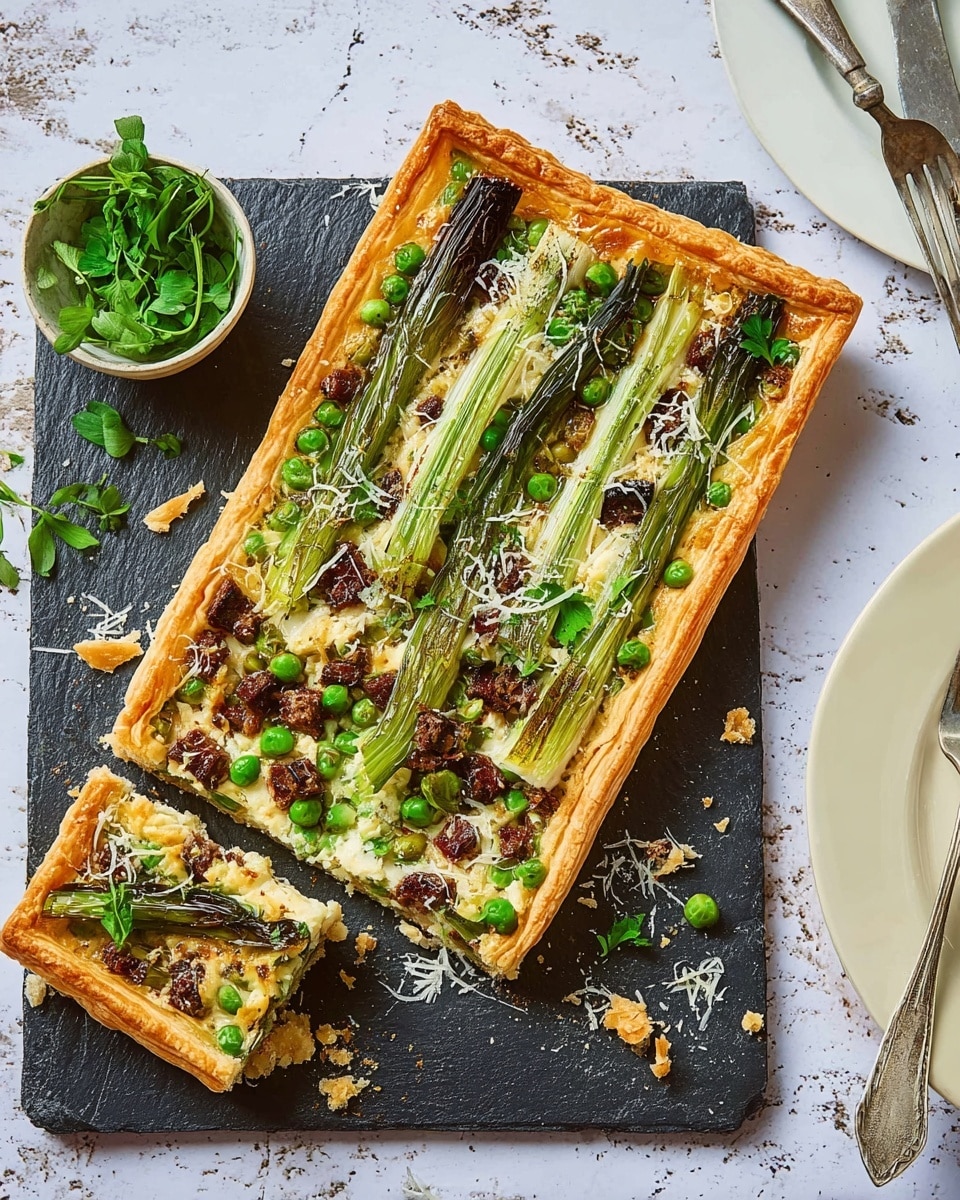
This spring onion, pea, and pancetta tart combines flaky puff pastry with a creamy herb-infused cheese filling, topped with sweet roasted spring onions, peas, and crispy pancetta. It’s a light yet flavorful dish perfect for lunch, brunch, or a casual dinner.
Ingredients
- 320g sheet all-butter ready-rolled puff pastry
- 8 spring onions
- 1 tsp olive oil
- 100g smoked pancetta, cut into cubes
- 200g soft cheese
- Handful of mint, basil, parsley or chives (or use a mixture), chopped, plus extra whole leaves to serve
- 1 egg yolk
- 25g parmesan, finely grated
- 1 heaped tsp Dijon mustard
- 100g frozen peas, defrosted
Instructions
- Step 1: Heat the oven to 200C/180C fan/gas 6. Unravel the sheet of puff pastry on its baking parchment and slide it onto a large baking tray. Score a border about 1cm from the edge all the way around the pastry, being careful not to cut through completely. Prick the middle all over with a fork.
- Step 2: Bake the pastry for 15 minutes until puffed up and golden. Meanwhile, place spring onions on a small baking tray, drizzle with olive oil, season, and roast alongside the pastry for the final 5 minutes of baking.
- Step 3: Cook the pancetta in a small frying pan over medium heat until golden. Remove from heat and set aside to cool.
- Step 4: In a bowl, mix the soft cheese, chopped herbs, egg yolk, half the parmesan, and Dijon mustard. Season well to taste.
- Step 5: Gently press down the middle of the baked tart base with the back of a spoon, then spread the cheese mixture evenly inside the border.
- Step 6: Scatter the defrosted peas and cooked pancetta evenly over the cheese, then arrange the roasted spring onions on top. Sprinkle with the remaining parmesan.
- Step 7: Return the tart to the oven and bake for another 10 minutes until golden and bubbling. Scatter with whole-leaf herbs before slicing and serving.
Tips & Variations
- Use a mix of fresh herbs for a vibrant flavor, or substitute with your favorites like tarragon or oregano.
- You can swap the pancetta for crispy bacon or prosciutto for a different taste.
- If you prefer a vegetarian version, omit the pancetta and add extra peas or some sautéed mushrooms.
- Make sure to fully defrost the peas to avoid excess moisture in the tart.
Storage
Store any leftover tart in an airtight container in the refrigerator for up to 2 days. Reheat in the oven at 180C (350F) for 10-15 minutes to keep the pastry crisp. This tart is best enjoyed fresh for optimal texture and flavor.
How to Serve
Serve this delicious recipe with your favorite sides.
FAQs
Can I prepare this tart in advance?
Yes, you can assemble the tart up to step 6 and refrigerate it uncovered for up to 1 hour before baking. This helps keep the pastry crisp during cooking.
Can I use fresh peas instead of frozen?
Absolutely! Fresh peas work wonderfully and add a bright sweetness. Just blanch them briefly in boiling water before using to maintain their color and texture.
Print
Spring Onion, Pea & Pancetta Tart Recipe
- Total Time: 45 minutes
- Yield: 4 servings 1x
- Diet: Halal
Description
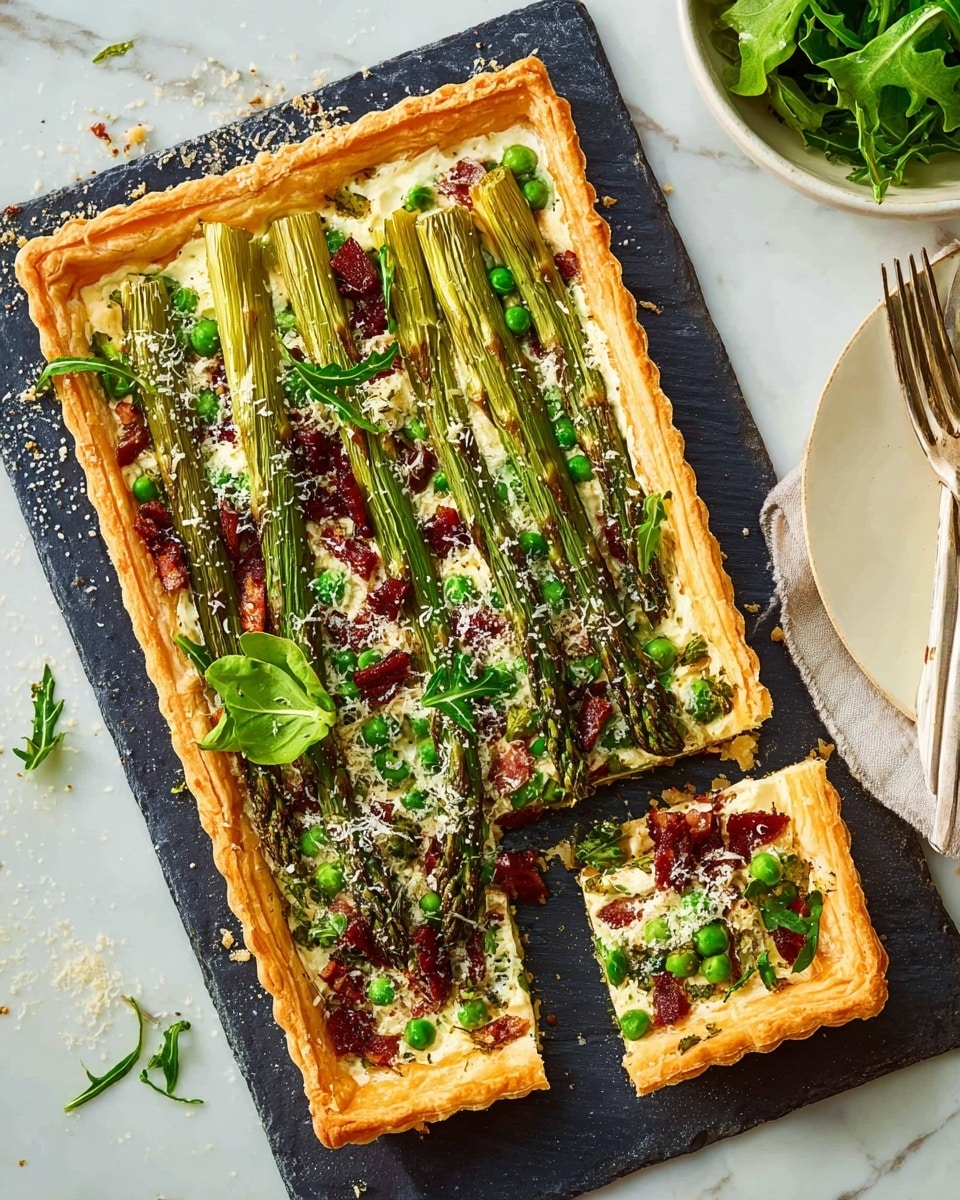
A delightful spring onion, pea, and pancetta tart featuring a flaky all-butter puff pastry base topped with creamy herbed cheese, crispy pancetta, roasted spring onions, and vibrant peas. Perfect for a light lunch or a flavorful appetizer, this tart combines savory, fresh, and cheesy elements with a crisp finish.
Ingredients
Pastry and Base
- 320g sheet all-butter ready-rolled puff pastry
Vegetables
- 8 spring onions
- 100g frozen peas, defrosted
Proteins and Dairy
- 100g smoked pancetta, cut into cubes
- 200g soft cheese
- 1 egg yolk
- 25g parmesan, finely grated
Herbs and Seasonings
- Handful of mint, basil, parsley or chives (or a mixture), chopped, plus extra whole leaves to serve
- 1 heaped tsp Dijon mustard
- 1 tsp olive oil
- Salt and pepper, to season
Instructions
- Prepare the Oven and Pastry: Preheat your oven to 200°C (180°C fan) or gas mark 6. Unroll the puff pastry sheet onto its baking parchment on a large baking tray. Using a knife, score a 1cm border all around the edges of the pastry without cutting through completely. Prick the center inside the border all over with a fork.
- Initial Baking of Pastry and Roasting Spring Onions: Bake the pastry in the oven for 15 minutes until it is puffed and golden. For the last 5 minutes of baking, place the spring onions on a small baking tray, drizzle with olive oil, season with salt and pepper, and roast them alongside the pastry until tender and slightly charred.
- Cook the Pancetta: While the pastry and onions are baking, heat a small frying pan over medium heat. Add the cubed pancetta and cook until it is golden and crispy. Remove from heat and set aside to cool slightly.
- Make the Cheese Mixture: In a bowl, combine the soft cheese, chopped herbs, egg yolk, half of the grated parmesan, and Dijon mustard. Season the mixture well with salt and pepper, and mix until smooth and well integrated.
- Assemble the Tart: Once the pastry is baked, gently press down the middle of the tart base inside the scored border using the back of a spoon to create a shallow cavity. Spread the herb and cheese mixture evenly over this sunken middle area.
- Add Toppings: Scatter the defrosted peas and cooked pancetta over the cheese spread. Then, arrange the roasted spring onions on top of this layer.
- Final Baking: Sprinkle the remaining parmesan cheese all over the assembled tart. Return it to the oven and bake for a further 10 minutes to meld the flavors and melt the cheese slightly.
- Finish and Serve: Remove the tart from the oven and scatter with the remaining whole-leaf herbs for freshness. Slice the tart into portions and serve warm or at room temperature.
Notes
- Ensure the puff pastry is chilled before baking for the best puff and flakiness.
- You can substitute pancetta with smoked bacon or prosciutto if preferred.
- Fresh or frozen peas can be used; just defrost frozen peas before adding.
- Feel free to experiment with herbs, but avoid overpowering flavors to maintain balance.
- Serve this tart with a light salad for a complete meal.
- Prep Time: 15 minutes
- Cook Time: 30 minutes
- Category: Tart
- Method: Baking
- Cuisine: European
Keywords: spring onion tart, pancetta tart, pea tart, puff pastry tart, savory tart, baked tart, herb cheese tart

