
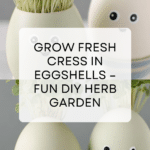
Crackin’ Cress Heads: Decorative Egg Shell Garden Recipe
Introduction
Grow your own fresh cress with this fun and simple craft recipe called Crackin’ Cress Heads. Perfect for a hands-on activity, you’ll create charming little egg shell planters that sprout tasty cress in just a few days.
Ingredients
- 2 eggs
- 2 tsp cress seeds
- 2 cotton wool balls
- felt-tip pens or acrylic paints
Instructions
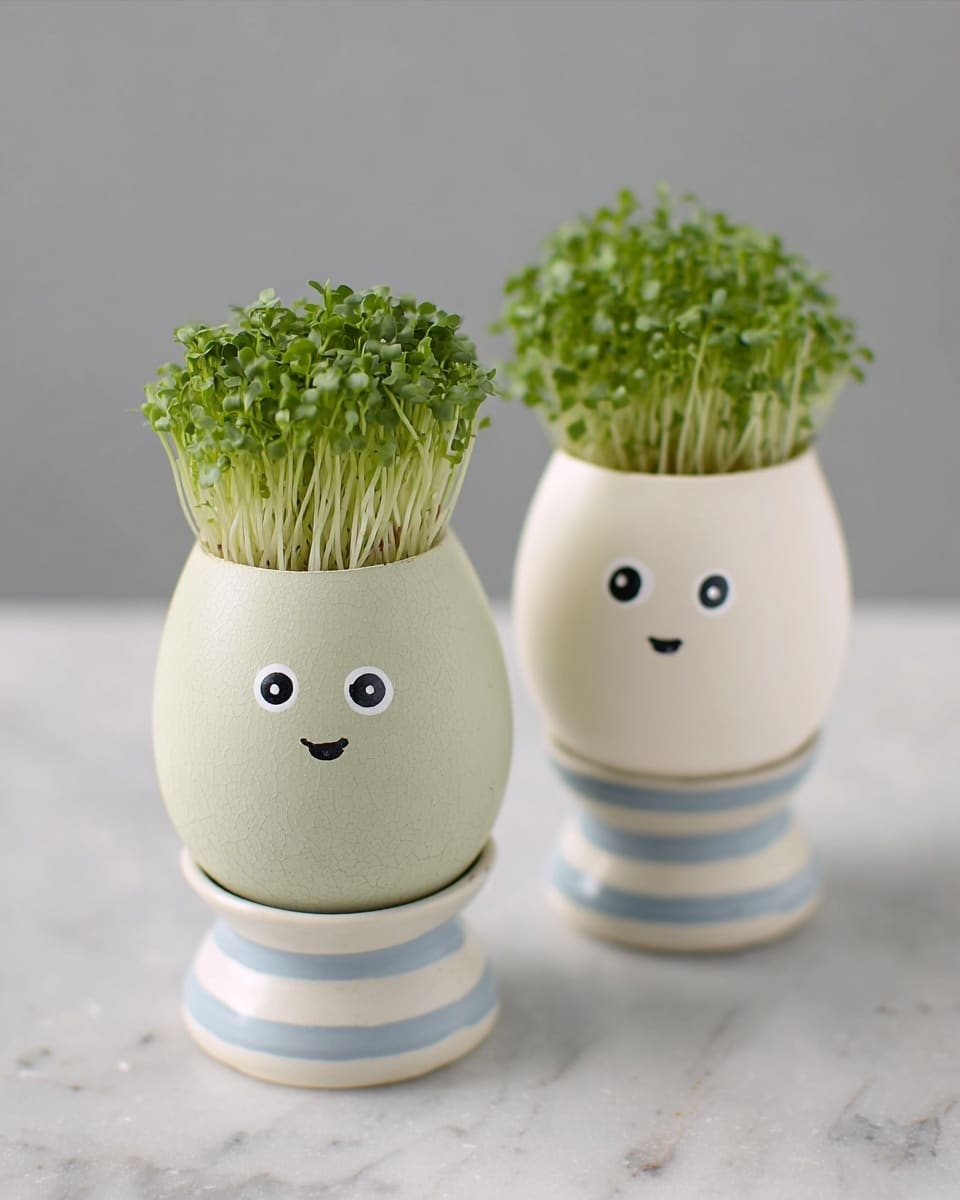
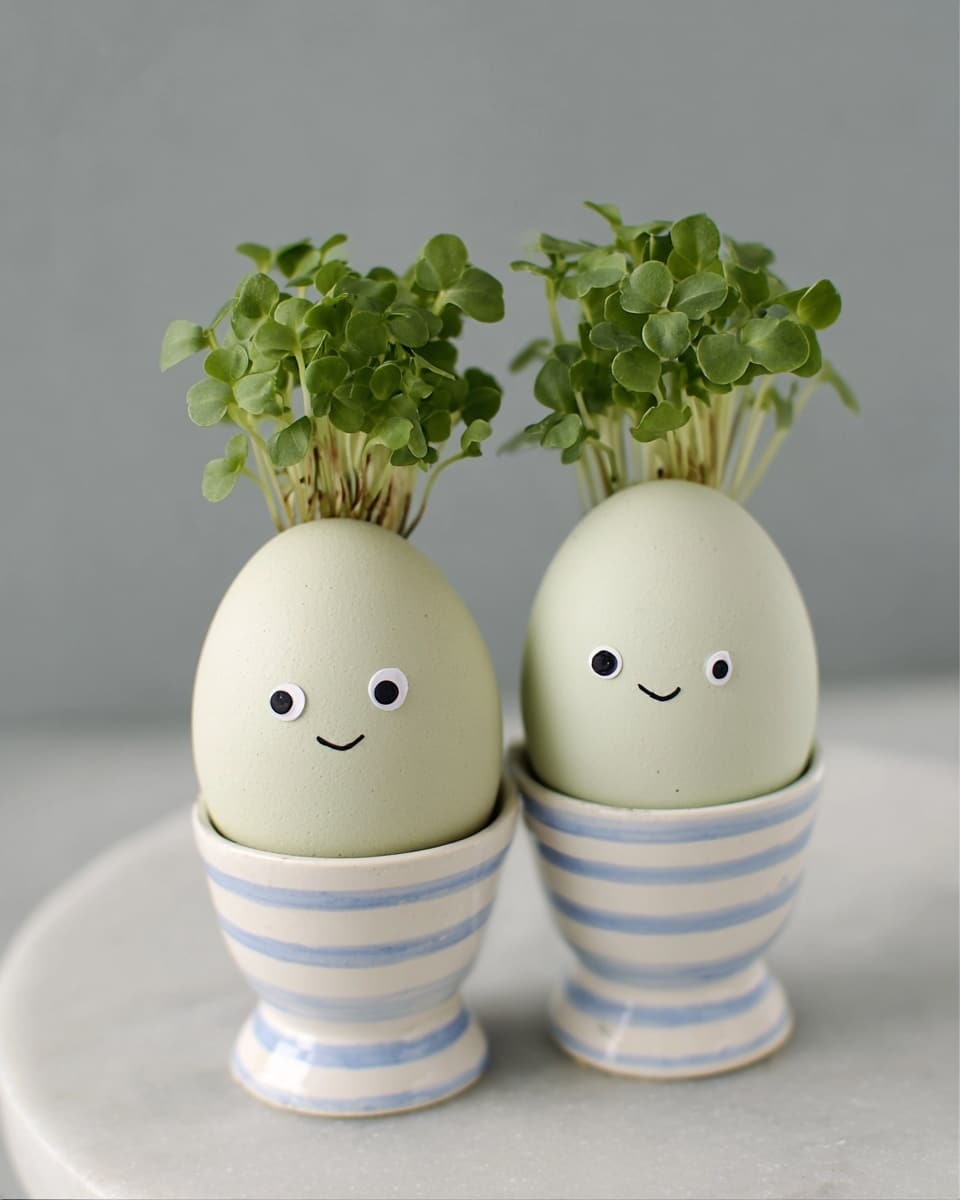
- Step 1: Carefully remove the tops from the eggs, leaving the bottom two-thirds of the shells intact. Empty the shells and save the eggs for another use, then gently wash out the shells and let them dry.
- Step 2: Decorate the outside of each eggshell with felt-tip pens or acrylic paints. Allow the decoration to dry completely before proceeding.
- Step 3: Dip a cotton wool ball in a little water, then squeeze off any excess moisture so it’s damp but not dripping.
- Step 4: Place one damp cotton wool ball inside each decorated eggshell.
- Step 5: Sprinkle 1 teaspoon of cress seeds evenly over each cotton wool ball.
- Step 6: Set the filled eggshells in eggcups to keep them stable, then place them in a dry, well-lit spot like a windowsill.
- Step 7: Check daily and keep cotton wool slightly moist if it starts to dry out. Your cress will begin to grow within a few days and will be ready to harvest in about a week.
Tips & Variations
- Try using different colored paints or markers to create unique faces or patterns on your cress heads.
- If you don’t have eggcups, small bowls or muffin tins can hold the shells steady during growth.
- Replace felt-tip pens with water-based markers for easier, safer decoration if children are involved.
Storage
Once your cress has grown, harvest it by snipping the green shoots and use immediately for the best flavor. Store any leftover harvested cress wrapped in a damp paper towel in the fridge for up to 2 days. The decorated eggshells can be composted or reused for new seeds after rinsing.
How to Serve
Serve this delicious recipe with your favorite sides.
FAQs
Can I use plastic eggs instead of real eggshells?
Plastic eggs won’t absorb water and won’t provide the natural environment cotton wool and cress need to grow. Real eggshells work best for growing cress successfully.
How often should I water the cotton wool inside the eggshells?
Check the cotton wool daily and keep it moist but not soaking wet. A light mist or a few drops of water will help keep the seeds hydrated and encourage healthy growth.
Print
Crackin’ Cress Heads: Decorative Egg Shell Garden Recipe
- Total Time: 7 days 15 minutes
- Yield: 2 cress heads 1x
Description
This charming and creative recipe shows you how to grow fresh cress inside decorated eggshells, turning a simple gardening activity into a delightful craft project. Perfect for children or anyone looking to add a touch of green to their kitchen, these ‘Crackin’ Cress Heads’ are easy to make and provide fresh cress shoots to enjoy in sandwiches or salads.
Ingredients
Ingredients
- 2 eggs
- 2 tsp cress seeds
- 2 cotton wool balls
- Felt-tip pens or acrylic paints (for decorating)
Instructions
- Prepare the eggshells. Carefully remove the tops from the eggs, leaving the bottom two-thirds of the shells intact. Empty the shells into a bowl and save the eggs for another use. Rinse the inside of the shells carefully to clean them, then set aside to dry.
- Decorate the eggshells. Using felt-tip pens or acrylic paints, decorate the outside of the clean eggshells with designs and colors of your choice. Allow the paint or ink to dry completely before proceeding.
- Insert the cotton wool and seeds. Dip each cotton wool ball lightly in water and squeeze off any excess moisture so it’s damp but not dripping. Place one damp cotton wool ball inside each decorated eggshell, then sprinkle about 1 teaspoon of cress seeds onto the cotton wool in each shell.
- Set up for growth. Place the filled eggshells carefully into egg cups to hold them upright. Position them in a dry, well-lit area such as a sunny windowsill where they will receive indirect natural light.
- Wait for the cress to grow. Over the next week, keep an eye on the moisture of the cotton wool; if it starts to dry out, mist with a little water to keep it damp. The cress will begin to sprout within a few days, ready to be harvested for fresh sandwiches or salads.
Notes
- Be gentle when removing the tops of the eggs to avoid cracking the shells.
- The eggshells can be painted and decorated by children to make this a fun family project.
- Keep the cotton wool damp but not soaked to encourage healthy seed growth.
- If you don’t have egg cups, small egg cartons or similar holders can stabilize the eggshells.
- Use freshly cleaned eggshells to reduce the chance of mold or bacteria affecting seed growth.
- Prep Time: 15 minutes
- Cook Time: 7 days (for cress to grow)
- Category: Gardening
- Method: No-Cook
- Cuisine: British
Keywords: cress growing, egg shells gardening, kids craft, edible cress, fresh herbs, easy gardening project


